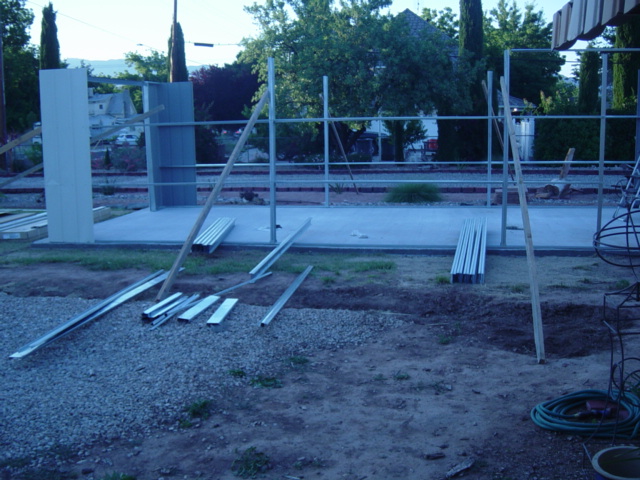
Here's the South side done.
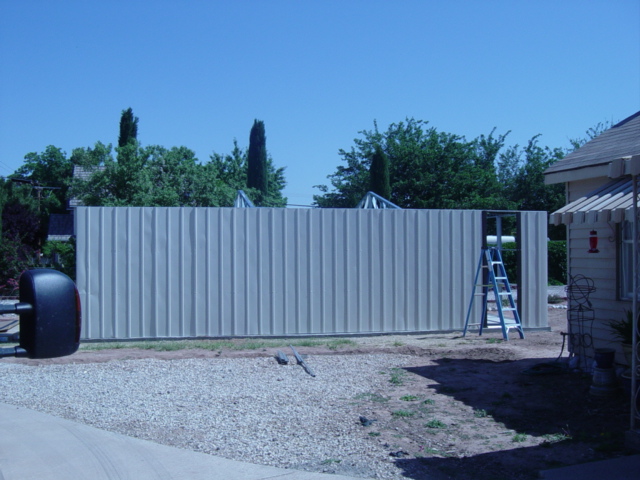
The North side

And the Back

Here are the trusses, gables and roof I-beams installed and ready for a roof. Have I mentioned how hot it's been cause it was a mite warmish. I figure I sweated approximately 5 Gatorades per hour. That's real construction speak right there.

The roof corners go up first. See that ladder I'm on, the 6 footer with the inviting step at the very top? Yeah, I fell off causing much bruising and more colorful metaphors. Don't be alarmed, I'm a professional where it comes to falling off ladders. I mean, I've fallen off ladders put up and held by professional Firefighters. Seriously, I've fallen off a lot of ladders. Explains many things. I ended up hanging from one of the roof I-beams by my right armpit. You may not know this but your armpit wasn't designed for holding up your body weight. Just a tip. It was spectacular enough that Lu even noticed. Usually when I hurt myself doesn't even look anymore, she just asks if we need to visit the ER. No? Then get back to work you lazy bastard.

The ladder incident (or rather the latest ladder incident) led to an epiphany. I have a large truck. It has this really nice and strong camper shell. The garage is open at the moment and, you know, it's right there, so...
Presto! Instant scaffolding. That's Sphincter Boy standing up there in case you can't see him.

Here is our now much smarter hero, installing the roof panels the safe way. See, I actually can learn from my mistakes. Provided they're painful enough.


We finished the day with the roof about halfway done.

The next day we got up and finished it off. Hey, there's a building there!

A couple of pictures from inside. It was at least 20 degrees cooler in there making my motivation to go back out in the sun pretty much nonexistent. See the man? See the huge sweat stain? Don't get too near the man.


After finishing the roof it was time to anchor the building. We did the final squaring and got ready to install the anchors. Uh. We might have a problem here. Take a look at the 2 anchors at the bottom of the picture. The one on the right is what was supplied in the anchor kit I bought, paying perfectly good money for it. It's 1/4 inch and was woefully inadequate. To fix it I went to the hardware store (Oh Joy!) and bought fifty 1/2 inch by 3 inch anchors. You can see the difference here. You do not anchor a 14x31x10 foot building with tinker toys.

This change in the plan required the purchase of a new tool. Oh yeah, I love tools especially new ones. Lu wasn't even mad. That bad boy is a Dewalt hammer drill and it's fabulous in the extreme. It drilled 1/2 inch holes 3 inches deep in my 6 bag concrete like, well, something sharp going through something soft. Hey, I'm tired and my brain don't work too well at the moment.

The day wouldn't be complete without thanking the support staff. Good ol' Chrisi. Where would we have been without her? Pay no attention to the fat man on the floor. Cheap labor.

Tomorrow I'll post the final build. We have to finish the trim, put on doors and build some shelving. Plus there's all my crap to lug and store in there. Come back, it'll be epic. I swear. There will probably be more pain and maybe even some bleeding.
Hey, I aim to please.
Eric